How Does the Clothing Manufacturing Process Work? A Step-by-Step Guide
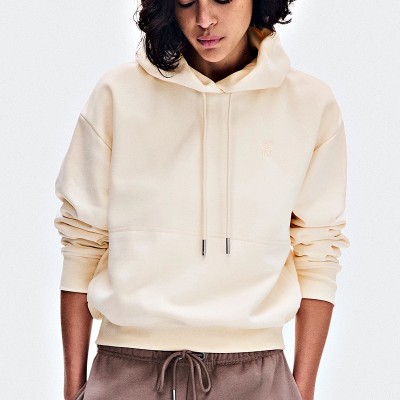
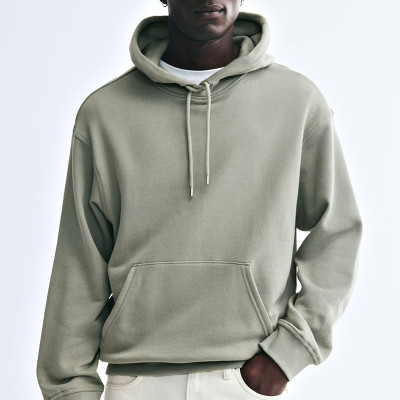
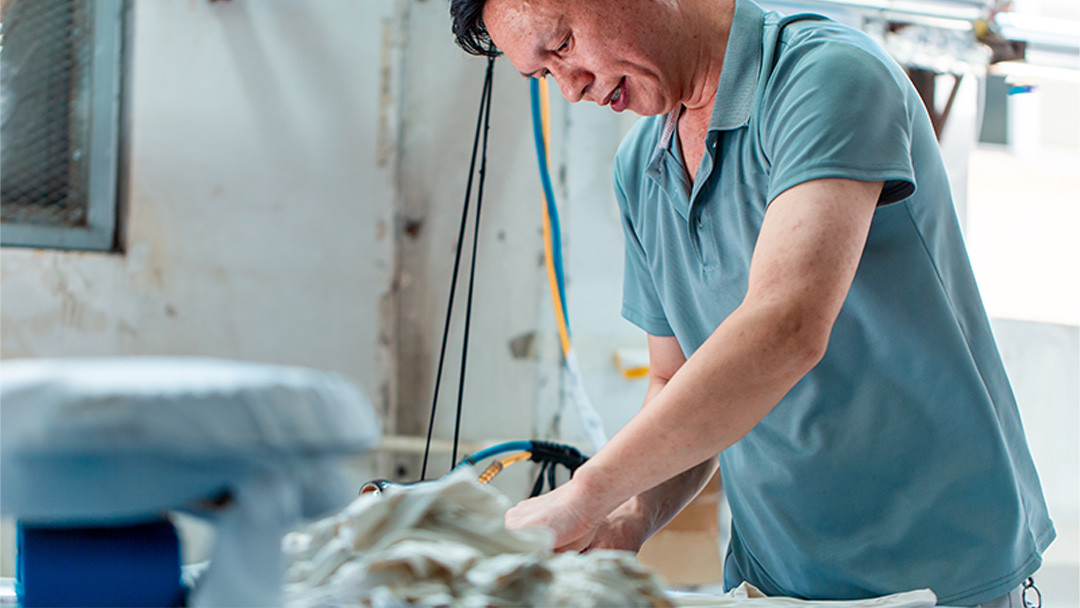
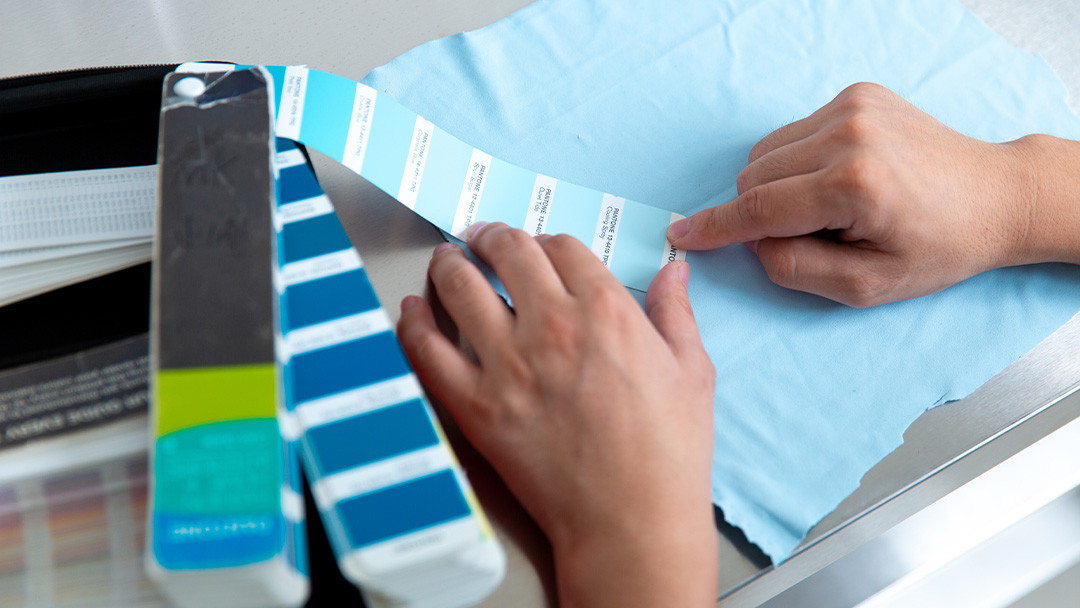
Clothing manufacturing typically moves from product specifications and sampling through material preparation, cutting, sewing, finishing, inspection, and packing. The exact workflow changes with the garment type, fabric, customization, order quantity, and factory setup, but the buyer approvals made before bulk production usually determine how smoothly the order runs. The clothing manufacturing process is the coordinated work of turning an approved garment specification into finished, packed goods. For a custom apparel program, it normally includes technical review, material and trim confirmation, pattern and sample development, pre-production approval, bulk cutting and sewing, finishing, quality inspection, and shipment preparation. It is not a single fixed recipe. A simple printed T-shirt, a washed sweatshirt, and a tailored woven shirt may pass through different machinery, tests, approvals, and finishing steps. What should stay consistent is the control point: the factory and buyer should agree on the approved reference, specifications, materials, branding, and quality standard before bulk production starts. Bulk production should begin with a shared understanding of the product. A Tech Pack is the most useful way to record that understanding. It can include technical flats, a measurement chart, bill of materials, color references, construction details, logo artwork, label placements, packaging instructions, and grading information. If a buyer does not yet have a complete Tech Pack, a factory may be able to review reference images or a physical sample and identify the missing information. That is a starting point, not a substitute for decisions. Before sampling, buyers should clarify the intended fit, target fabric, decoration method, size range, and target market. Ambiguity at this stage often reappears later as sample revisions or inconsistent bulk expectations. Fabric and trims are selected against the approved product direction. The material discussion is wider than color and composition: for knitwear, buyers may need to consider weight, stretch, recovery, shrinkage, hand feel, and finishing; for wovens, weave, weight, drape, opacity, and construction can matter. The right option depends on the garment, its use, and the finish the brand expects. Trims include items such as labels, drawcords, zippers, buttons, elastic, hangtags, polybags, and cartons. A small trim change can affect appearance, timing, and cost, so buyers should approve the relevant samples or specifications rather than relying on a verbal description. The pattern converts the garment concept into cut components. The sample then tests whether the pattern, chosen materials, construction, and branding work together in a physical garment. Depending on the project, development can move through a prototype, fit sample, size-set sample, or other review stage before a pre-production sample is approved. Sample development is where a design becomes manufacturable. It can reveal that a pocket position needs adjustment, a fabric behaves differently from the original expectation, a print placement needs a tolerance, or a seam needs a different construction. These are useful findings when they are captured in written feedback and carried into the next version. Buyers should review samples against the intended product rather than only checking whether the garment looks good in a photograph. The review should cover measurements, fit, fabric and color, workmanship, logo placement, labels, trims, wash or finishing effects where applicable, and packaging requirements. A clear approval record matters. If changes are required, consolidate them into one set of comments with annotated images, measurements, or revised documents. Scattered feedback can create conflicting instructions. Once a sample is approved for production, changes should be treated carefully because they may affect materials already ordered or work already scheduled. Before bulk cutting, the factory typically prepares the approved production information: finalized patterns and grading, marker plans, material and trim requirements, color and size breakdowns, production instructions, and quality checkpoints. Many programs also use a pre-production sample (often called a PP sample) as the physical reference for the line. This is a practical control gate. The buyer should make sure the PP sample represents the agreed bulk version, not an earlier development sample. The approved sample, written specifications, and purchase-order details should point to the same version of the product. Cutting turns bulk fabric into the garment panels that will enter the sewing line. The process may involve fabric relaxation, spreading, marker placement, and cutting, depending on the material and the factory’s methods. Plaids, stripes, directional prints, pile fabrics, and fabrics with shade variation can require additional planning because panel alignment affects the finished appearance. Accuracy matters here because a cutting mistake is difficult to correct after assembly. Buyers do not need to manage the cutting room, but they should understand that late changes to measurements, pattern pieces, or color breakdowns can interrupt work that has already been planned or started. Sewing is a sequence of specialized operations, not simply one person making a complete garment from start to finish. Different operators or workstations may assemble collar components, sleeves, side seams, hems, pockets, labels, or other elements. The sequence and equipment depend on the garment construction: for example, knit seams, flatlock details, woven shirt plackets, and reinforced pocket areas require different methods. During assembly, the production team should work from the approved reference and technical instructions. Inline checks are valuable because they identify workmanship or measurement issues before they affect a larger portion of the order. Finishing prepares the garment for inspection and packing. Depending on the product, it may include thread trimming, pressing, shaping, washing, special finishing, attaching final labels, or removing production marks. Some treatments are integral to the product’s look and hand feel, while others are basic presentation controls. The exact process should match the approved sample and care requirements. Quality control compares the product against the agreed reference and specification. Inspection points can include measurements, fabric appearance, color consistency, stitching and seam construction, logo or artwork placement, labels, accessories, cleanliness, packaging, and quantity. An AQL inspection plan is a sampling approach used to determine how many pieces to inspect and the acceptance or rejection threshold for a lot; it does not mean that defects are acceptable or that every item is automatically inspected. For MinCharm orders, AQL 2.5, a 100% inspection capability, and an 8-step QC process are available as manufacturing controls. The applicable inspection plan should still be agreed for the order, particularly when a brand has its own critical, major, and minor defect definitions or third-party inspection requirements. After inspection, garments are folded or packed according to the approved packing instructions. The program may specify individual bags, barcode stickers, hangtags, size stickers, assortment ratios, carton markings, carton dimensions, and shipping marks. These details are operational, but they affect warehouse receiving and retail readiness. Confirm them before production is complete, not when the goods are ready to leave the factory. Sampling and bulk production are separate time periods. At MinCharm, sample development is generally around 7–10 days, while typical bulk production is around 25–35 days after the relevant approvals and materials are in place. These are planning ranges, not fixed promises. Timing can change with fabric availability, custom trims, garment complexity, order quantity, print or embroidery requirements, wash processes, sample revisions, testing needs, and the completeness of buyer approvals. The most useful question is not only “How fast can this be made?” but “What must be approved or supplied before the production clock can start?” Delays are often created before the sewing line starts. Incomplete specifications, late fabric or trim decisions, unconfirmed artwork, multiple rounds of scattered comments, and changes after the PP sample can all extend the schedule. Material availability also matters: a custom color, specialty finish, or branded trim may have a longer lead time than a stock option. Buyers can reduce avoidable delay by assigning one decision-maker, keeping all approvals version-controlled, and asking the factory to flag the critical path early. A realistic schedule should distinguish between development, material preparation, bulk production, inspection, and logistics rather than treating them as one undifferentiated lead time. The clothing manufacturing process works best as a series of controlled handoffs: define the product, validate it in a sample, lock the production reference, then make and inspect the bulk order against that reference. Buyers who approve the right details before bulk production give the factory a clearer basis for consistent execution. If you are preparing a custom apparel program, MinCharm can review your product specifications, reference sample, or Tech Pack before sample development. You can contact MinCharm with the garment category, target quantity, and available product information. For a custom garment, the first practical step is to define the product through a Tech Pack, reference sample, or equivalent specification. The factory needs enough information to understand the intended fit, construction, materials, branding, and quantity before it can develop an accurate sample or quote. A complete Tech Pack is strongly preferred because it records the production details in one place. A factory may begin from images or a physical reference sample, but missing decisions should be clarified and documented before bulk production. A PP sample is a pre-production sample used as a reference before bulk production. It helps the buyer and factory confirm that the approved materials, construction, branding, and measurements match the version intended for the production line. AQL 2.5 is an acceptance-quality-limit level used in a sampling inspection plan. The lot size, inspection level, and defect classification determine the sample size and acceptance criteria. It is not a promise of zero defects, so the quality agreement should also define what counts as a critical, major, or minor defect. For the AQL explanation, this article uses the scope of ISO 2859-1:2026, Sampling procedures for inspection by attributes — Part 1: Sampling schemes indexed by acceptance quality limit (AQL) for lot-by-lot inspection. The production sequence described here is a buyer-oriented guide; individual factory workflows vary.What Is the Clothing Manufacturing Process?
Step 2: Fabric and Trim Selection
Step 3: Pattern Making and Sample Development
Step 4: Sample Review and Approval
Step 5: Pre-Production Preparation
Production stage
What the factory is aligning
What the buyer should confirm
Specification review
Construction, measurements, artwork, and materials
Tech Pack or equivalent production information is complete
Sampling
Pattern, fit, fabric behavior, trims, and workmanship
Feedback is consolidated and revisions are documented
Pre-production
Bulk materials, grading, line instructions, and reference sample
Final sample, color, logos, labels, and packaging are approved
Bulk production
Cut components, assembly sequence, finishing, and inspection
Quality standard and inspection expectations are understood
Step 6: Fabric Cutting
Step 7: Sewing and Garment Assembly

Step 8: Finishing
Step 9: Garment Quality Inspection
Step 10: Packing and Shipment Preparation
How Long Does the Clothing Manufacturing Process Take?
What Buyers Should Confirm Before Bulk Production
Common Causes of Production Delays
Final Takeaway
Frequently Asked Questions
What is the first step in clothing manufacturing?
Is a Tech Pack required to make clothing?
What is a PP sample in garment manufacturing?
What does AQL 2.5 mean for garment inspection?
Reference Note